がんばって USD ファイルをテキストで書いてみる
SCNScene から USDA が書きだせたので調べながら手書きで書いてみる。
今回は Apple 製品で動くものなので、実際の USD の仕様と異なるので注意。
本来は公式ページから GitHub へ行きツール群をビルドしそこから振る舞いを調べるべきなのだが、自分の環境だと USD 関連でビルドに必要な PySide がビルドできないため諦めた。
多分、Qt が悪さをしている。
プリミティブを描画してみる
USDA では最初の行に「#usda 1.0」が必要になる。
ひとまず、球体を描画してみる。
#usda 1.0

def Sphere "sphere" {}
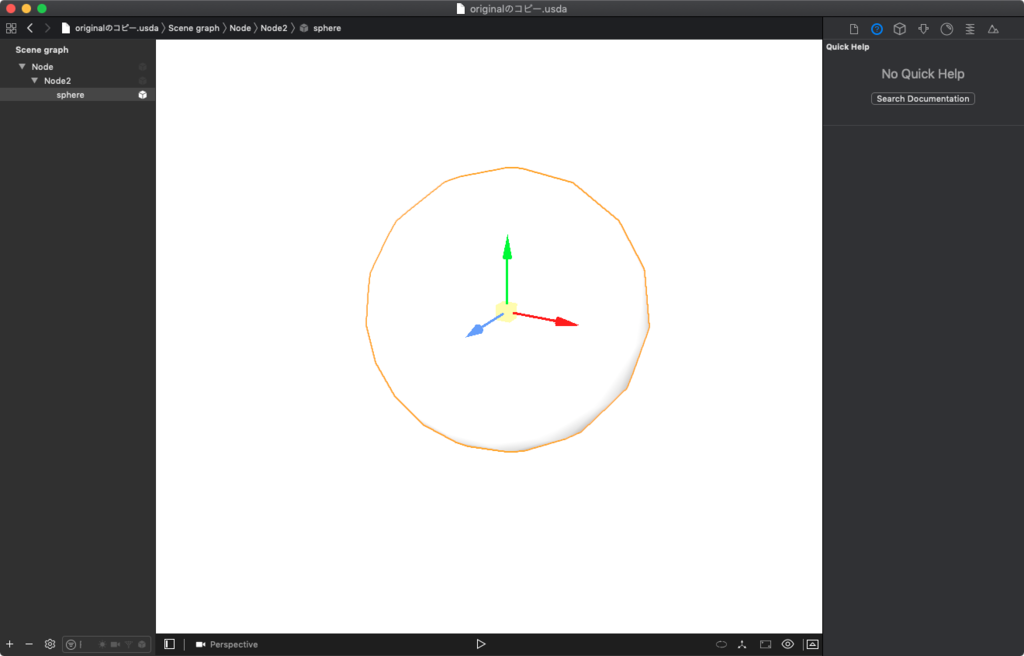
立方体、円錐などが描画できる。
#usda 1.0

def Cube "cube" {}
#usda 1.0

def Cone "cone" {}

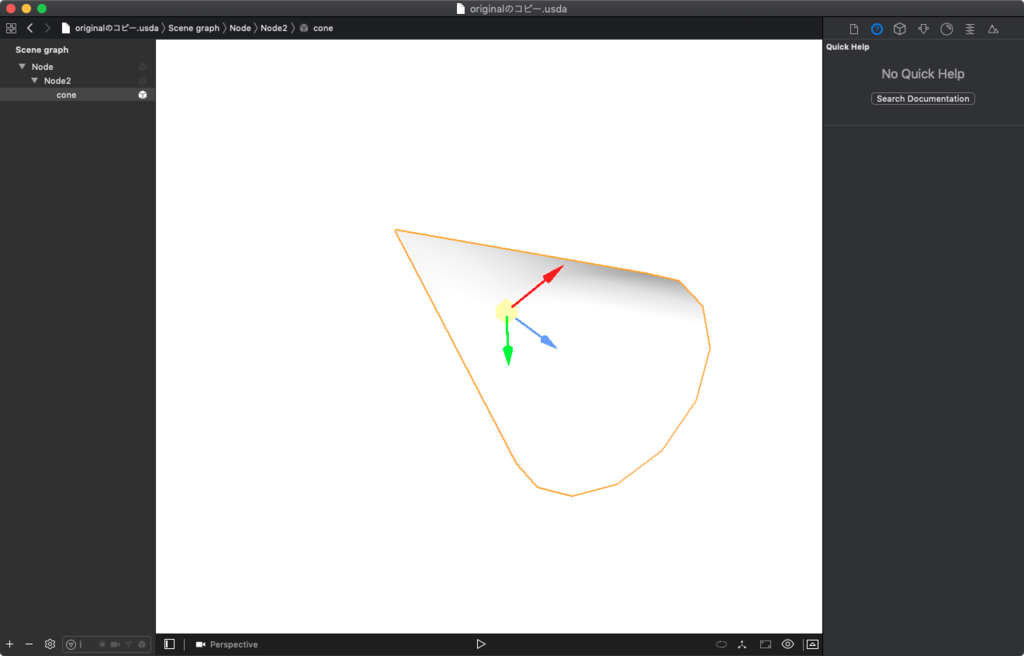
空のノード追加してみる
「def Scope "ノード名"」で SceneKit で言う所の SCNNode として定義し追加できる。
#usda 1.0

def Scope "Node" {
}
また、入れ子にもできる。
#usda 1.0

def Scope "Node"
{
    def Scope "Node2"
    {
    }
}
メッシュ(ジオメトリ)をつくってみる
メッシュは「def Mesh」で定義でき、 基本的には SceneKit のカスタムジオメトリと作り方は同じで、 頂点の位置とインデックス、面を貼るためのカウント、テクスチャ用の UV、法線を設定してジオメトリが完成する。
以下のコードでは三角形のメッシュを描画する。
#usda 1.0

def Mesh "CustomMesh"
{
    uniform bool doubleSided = 0
    float3[] extent = [(0, 0, 0), (1, 1, 0)]
    int[] faceVertexCounts = [3]
    int[] faceVertexIndices = [0, 1, 2]
    normal3f[] normals = [(0, 0, 1),(0, 0, 1),(0, 0, 1)]
    point3f[] points = [(0, 0, 0),(1, 0, 0),(0, 1, 0)]
    float2[] primvars:Texture_uv = [(0.0, 0.0),(1.0, 0.0),(0.0, 1.0)](
        interpolation = "vertex"
    )
}
以下、コードを軽く説明。
| パラメーター | 説明 |
|---|---|
| doubleSided | メッシュの表示設定。0 で片面、1で両面。省略可。 |
| extent | メッシュの大きさ。省略可。 |
| faceVertexCounts | 面の頂点数。3で Xcode では三角ポリゴン意外は表示できない模様 |
| faceVertexIndices | あとで設定するポイントの配列の順番。時計回りで座標プラス値方向に面が貼られる。 |
| normals | 各頂点の法線。 |
| points | 各頂点の座標。 |
| primvars:Texture_uv | 各頂点の 0 〜 1 の UV 値。「(interpolation = "vertex")」は頂点を参照してつけるためこれを省略するとテクスチャが貼られない。 |
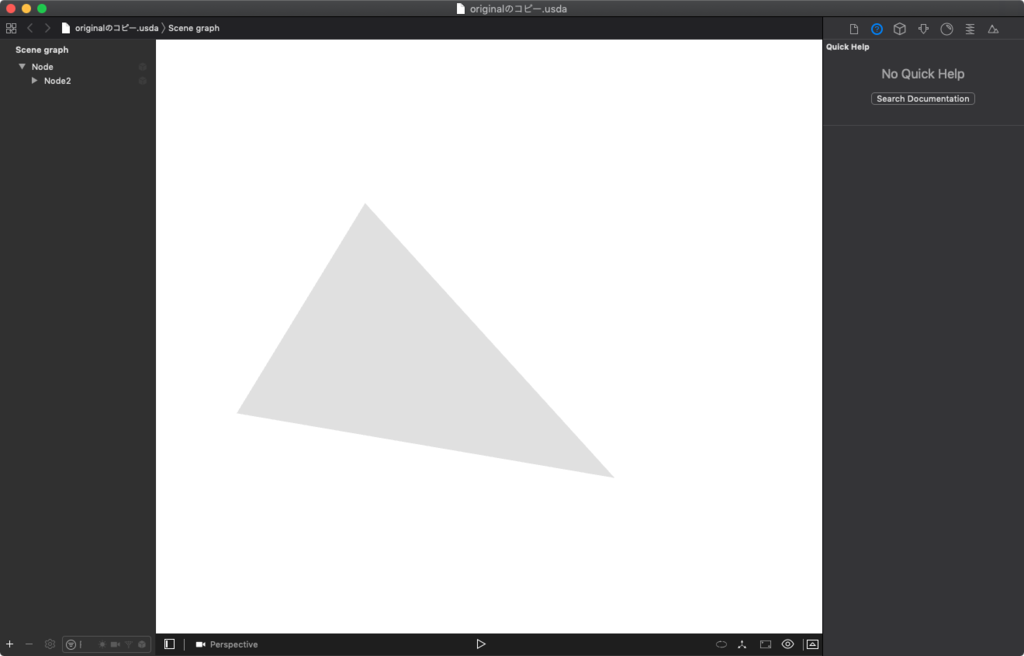
ちなみにポイント4点のメッシュを作る場合は三角形のポリゴンを2つ組み合わせる。
#usda 1.0

def Mesh "CustomMesh"
{
    uniform bool doubleSided = 0
    float3[] extent = [(0, 0, 0), (1, 1, 0)]
    int[] faceVertexCounts = [3,3]
    int[] faceVertexIndices = [0, 1, 2, 2, 1, 3]
    normal3f[] normals = [(0, 0, 1),(0, 0, 1),(0, 0, 1),(0, 0, 1)]
    point3f[] points = [(0, 0, 0),(1, 0, 0),(0, 1, 0),(1, 1, 0)]
    float2[] primvars:Texture_uv = [(0.0, 0.0),(1.0, 0.0),(0.0, 1.0),(1.0, 1.0)](
        interpolation = "vertex"
    )
}
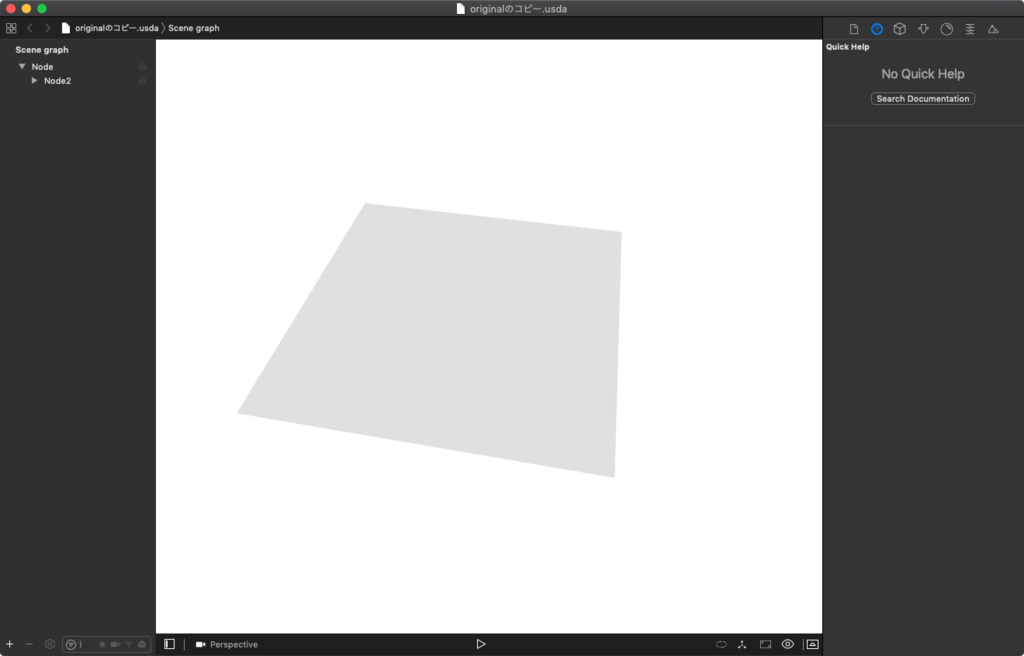
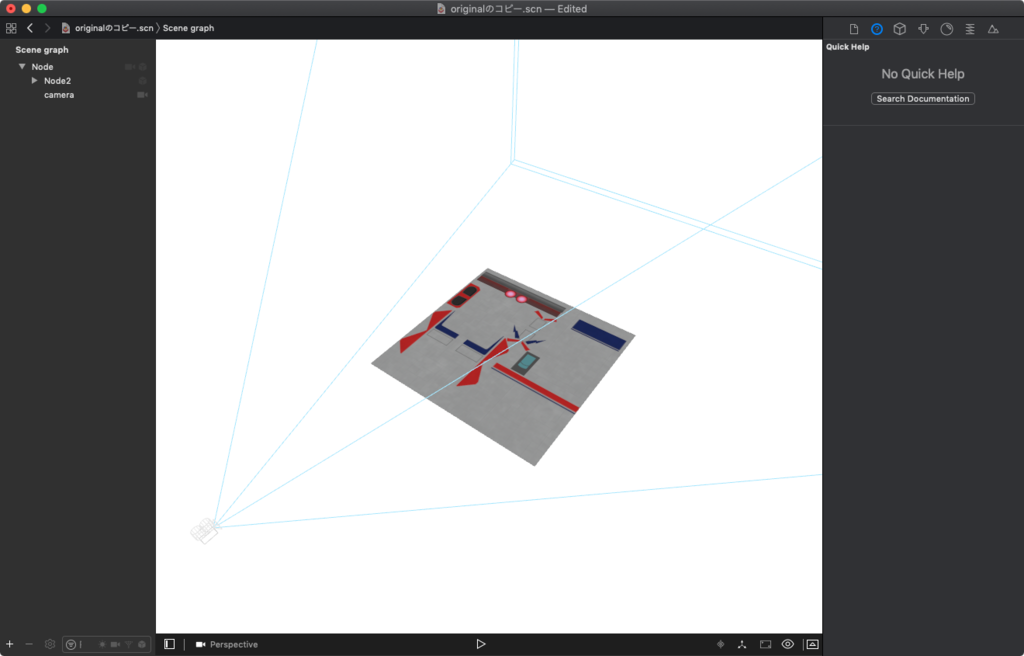
scn ファイルに変換してテクスチャを貼るとこんな感じ。
カメラを追加する
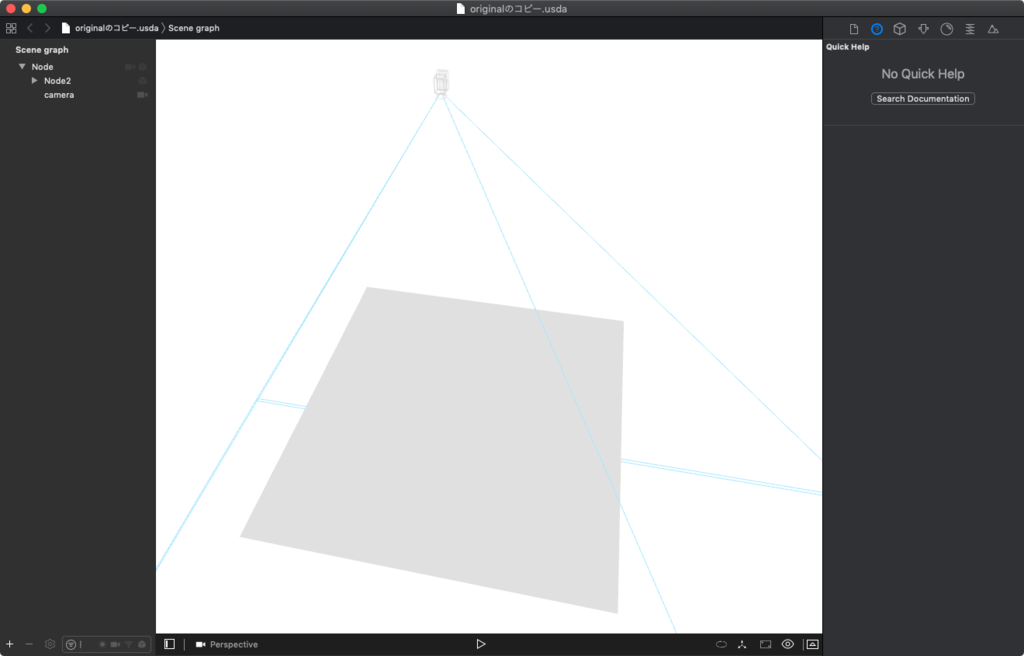
「def Camera」で定義できる。
以下、SceneKit のカメラ設定と名前が同じなので分かりやすいだろう。
下から2つの xformOp:transform と xformOpOrder はカメラの位置、回転、拡大縮小を設定するトランスフォームの値。
#usda 1.0

def Camera "camera"
{
    float2 clippingRange = (100, 10000)
    float focalLength = 20.784609
    float focusDistance = 300
    float fStop = 5.6
    float horizontalAperture = 36
    float verticalAperture = 24
    matrix4d xformOp:transform = ( (1, 0, 0, 0), (0, 1, 0, 0), (0, 0, 1, 0), (0.5, 0.5, 1.0, 1) )
    uniform token[] xformOpOrder = ["xformOp:transform"]
}
その他設定
初期設定。
defaultPrim は起点となる Scope(ノード)、endTimeCode、startTimeCode、timeCodesPerSecond はアニメーション設定。
upAxis は上方向の軸。
#usda 1.0
(
    defaultPrim = "Node"
    endTimeCode = 1
    startTimeCode = 1
    timeCodesPerSecond = 60
    upAxis = "Z"
)

def Sphere "sphere" {}
まとめ
気合いがあれば書けるがかなり面倒。
Blender とかで直接書き出せるようになってほしい。